Sourdough baking
Sourdough cinnamon brioche — giant spiral
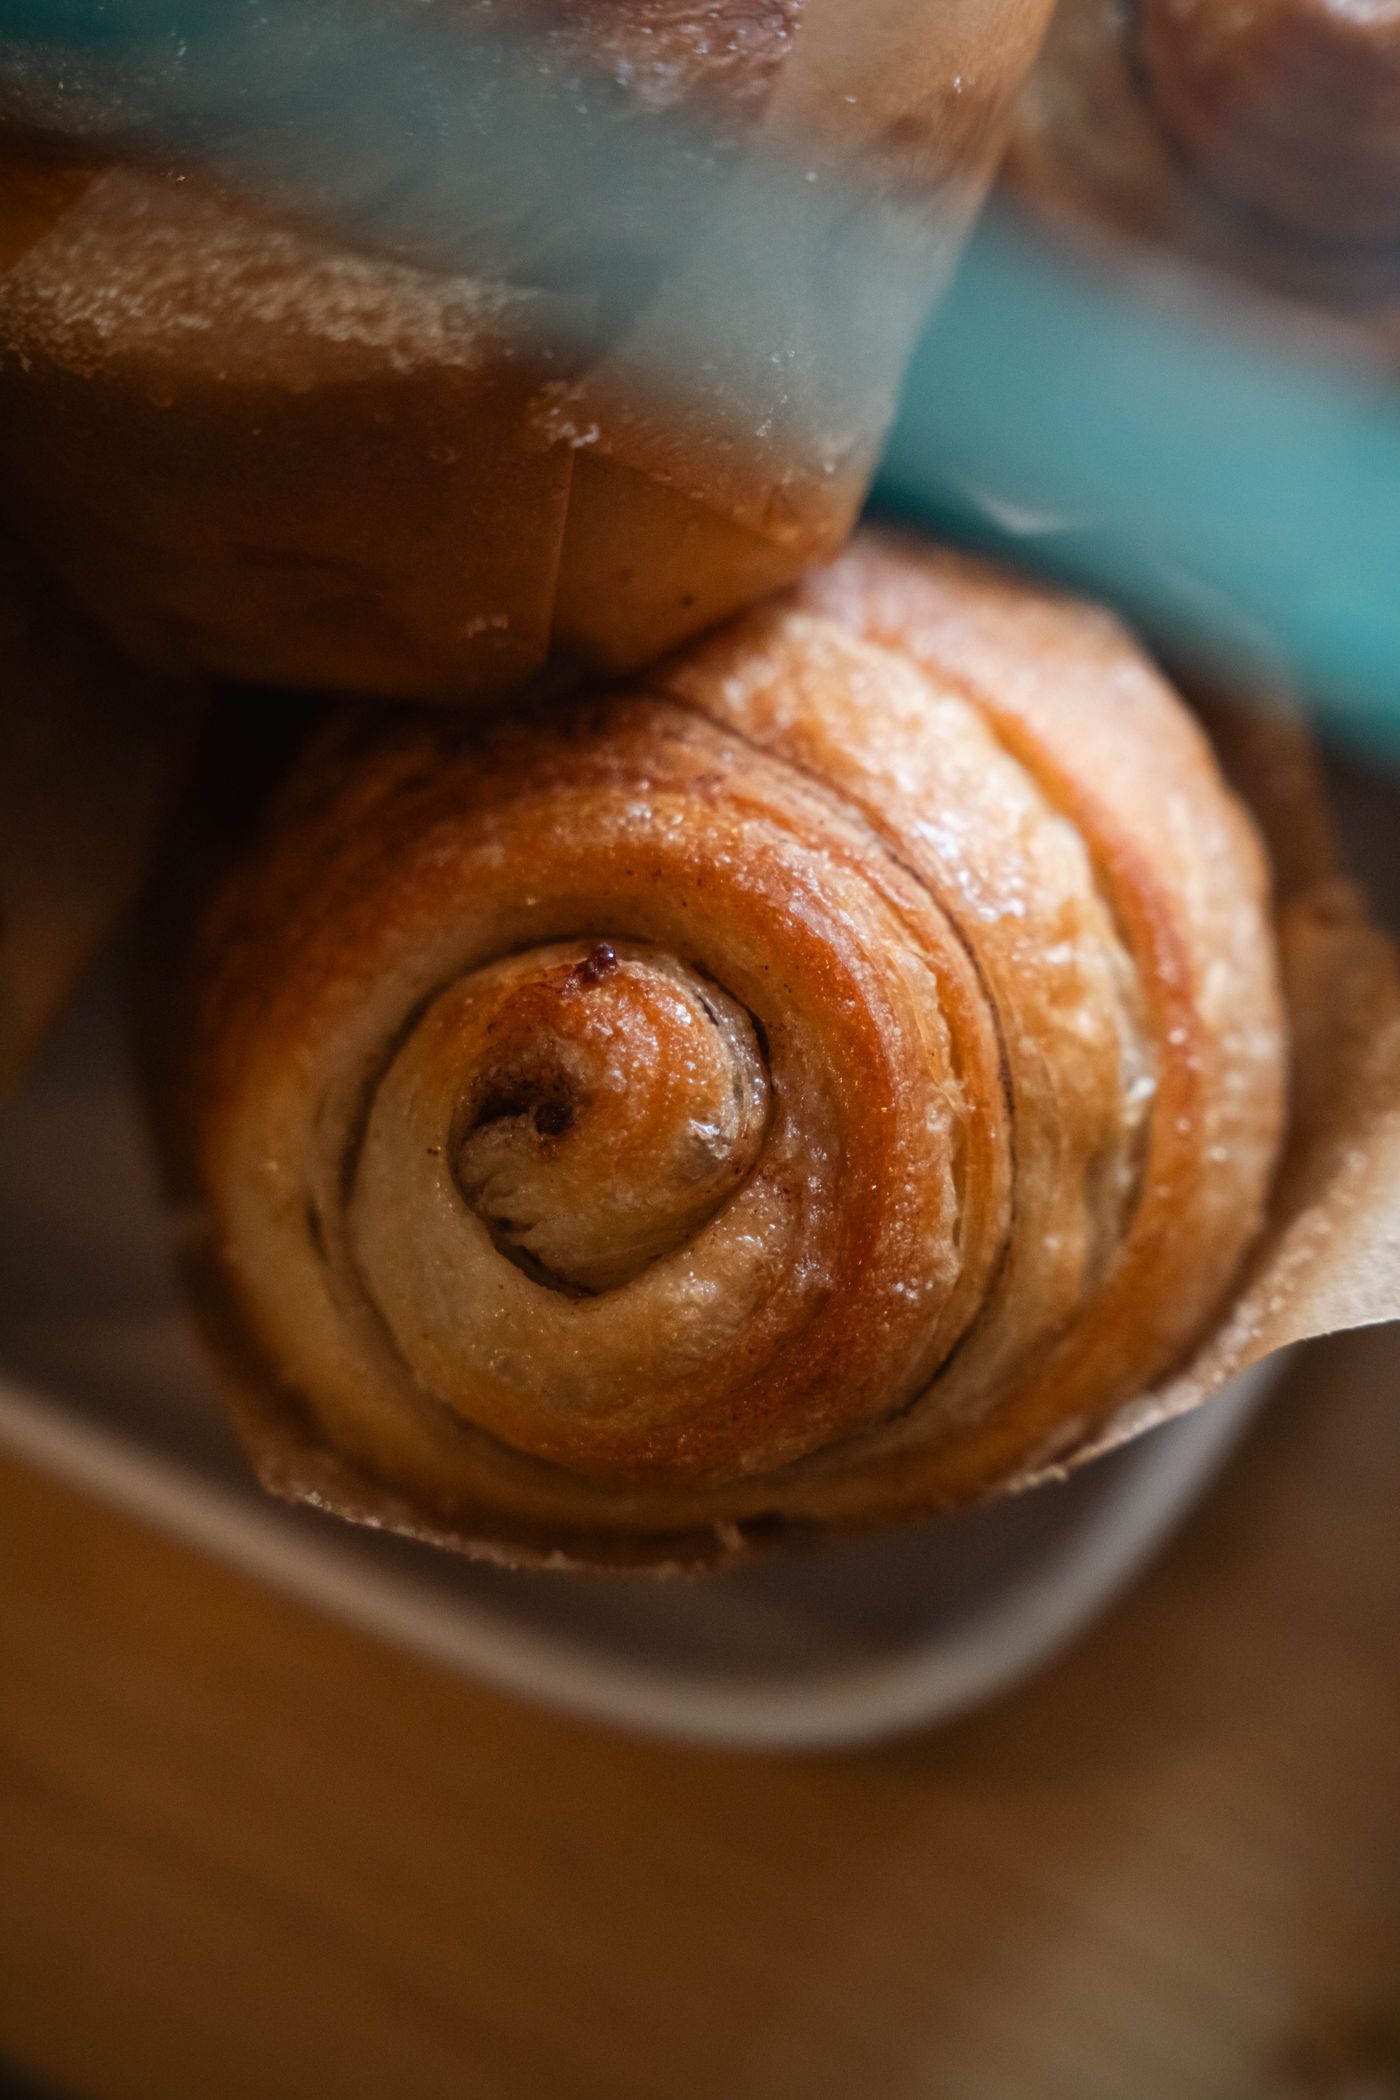
A soft, buttery cinnamon brioche shaped into one giant spiral in a 20 cm round tin. Made with a stand mixer and 100%-hydration sourdough starter; serves 8.
Clear and checked
Method
- 01
Feed the starter
5 minHands-onMix 25 g existing 100%-hydration starter with 50 g water and 50 g strong white bread flour (1:2:2). Put in a clean jar, mark its level and cover loosely. This makes 125 g: use 100 g at peak and retain the remaining 25 g. The feeding ingredients are represented by the finished starter ingredient and are not counted again in nutrition.
- 02
Wait for the starter to peak
570 minHands-off · check as directedAt 22–23°C allow about 8–11 hours; the timer uses 9½ hours as a planning estimate. Use when at maximum height, well aerated and still slightly domed or just beginning to flatten. If it has not reached peak, extend this step. If you already have 100 g starter at peak, skip the feeding and waiting steps.
- 03
Weigh and prepare the dough ingredients
7 minHands-onWeigh the dough ingredients. Beat the eggs and measure 100 g without shells. Divide the softened 115 g dough butter into about 10 pieces; it should be pliable, not melted. Keep this butter separate for later. Set up the stand mixer with its dough hook.
- 04
Mix the initial dough
3 minHands-onBriefly combine 100 g peak starter, 110 g milk, 100 g egg, 50 g caster sugar and the optional 1 tsp vanilla in the mixer bowl. Add 350 g strong white bread flour and 7 g salt. Mix on low with the dough hook for 2–3 minutes until no dry flour remains. Start the bulk-fermentation clock when the starter first meets the other ingredients.
- 05
Rest the dough
30 minHands-off · check as directedCover the mixer bowl and leave the dough for 30 minutes. This rest is part of bulk fermentation, not additional to it.
- 06
Develop the gluten with the dough hook
9 minHands-onMix on low–medium for 7–10 minutes until the dough is smoother, cohesive and elastic, beginning to gather around the hook and pull away from the bowl. Supervise the mixer, stop briefly to inspect as needed and do not add flour simply because the dough is tacky.
- 07
Add the butter gradually
10 minHands-onWith the mixer on low–medium, add the 115 g softened dough butter one small piece at a time, waiting for each piece to be mostly incorporated before adding the next. Allow 8–12 minutes. Temporary greasiness and looseness are normal.
- 08
Finish kneading and check the windowpane
6 minHands-onContinue mixing in short intervals until smooth, glossy and elastic. Carefully stretch a small piece into a thin, almost translucent membrane; if it tears immediately, mix a little longer. Allow about 3–10 further minutes for planning, but stop according to the dough. Aim for 23–26°C. If it becomes very warm or greasy, pause and cool it before continuing. There are no later stretch-and-folds.
- 09
Transfer to the bulk-fermentation container
3 minHands-onLightly grease a straight-sided container, transfer the dough, mark its level and cover. Note the time at which the starter was first mixed into the dough; bulk fermentation is measured from that time.
- 10
Complete bulk fermentation
539 minHands-off · check as directedAt 22–23°C begin checking after 6 hours TOTAL from the initial mix. Allow about 8–12 hours total, or longer if needed, until volume has increased by about 50–60% and the dough looks aerated and softer. This timer is the remaining 8 hr 59 min of a 10-hour total bulk estimate: the preceding 61 minutes of mixing, rest, kneading and transfer are already included. Do not add a further full 10 hours. Recalculate the remaining wait if those stages took longer, and use the dough's readiness rather than the timer.
- 11
Put the dough in the fridge
1 minHands-onOnce bulk is complete, keep the container covered and put it in the fridge so the butter firms up.
- 12
Chill for easier shaping
75 minHands-off · check as directedRefrigerate for 60–90 minutes, until the dough is firm enough to roll without smearing or excessive sticking. Prepare the filling and tin during this wait.
- 13
Prepare the cinnamon filling
4 minHands-onMix 45 g light brown soft sugar, 7 g ground cinnamon and 5 g plain flour. Keep the 20 g very soft filling butter separate.
- 14
Prepare the 20 cm cake tin
5 minHands-onLightly grease a 20 cm DIAMETER round cake tin at least 6 cm deep and line the base and sides with baking paper. Put a removable-base tin on a baking tray to catch any leaking filling.
- 15
Roll the chilled dough
8 minHands-onLightly flour the worktop, turn out the chilled dough and roll into a reasonably even rectangle about 25 × 40 cm. Use only enough dusting flour to prevent sticking; do not knead extra flour into the dough.
- 16
Butter and fill the rectangle
4 minHands-onSpread the 20 g very soft filling butter thinly over the dough, leaving about 2 cm clear around the edges. Sprinkle the cinnamon-sugar-flour mixture evenly over it and press very gently.
- 17
Roll into a log
4 minHands-onStarting from the long edge, roll into a log about 40 cm long. Roll snugly without compressing the layers, then pinch the long seam closed. Do not perform push–pull shaping.
- 18
Shape the giant spiral
4 minHands-onSet the log seam-side down, gently coil it from one end and place in the centre of the lined tin. Leave a little room between coils and tuck the outer end underneath or against the outside coil. Do not force it to fill the tin.
- 19
Cover for the final proof
1 minHands-onCover with lightly oiled cling film or a loose cover that will not touch the dough as it rises. Keep at about 22–23°C; this proof is at room temperature, not in the fridge.
- 20
Final proof at room temperature
345 minHands-off · check as directedAllow approximately 4–8 hours TOTAL for final proof, potentially longer. This first timer uses 5 hr 45 min of a 6-hour planning estimate; the final 15 minutes overlap oven heating. The dough should become very puffy and aerated, with gaps between coils largely gone. A gentle indentation should return slowly and only partially. Extend the proof if these signs are absent; do not bake solely because the timer has ended.
- 21
Start preheating the oven
1 minHands-onWhen the dough appears close to ready, set the fan oven to 165°C with a shelf in the middle. Allow about 15 minutes total to heat; use your oven's temperature indicator and allow longer if necessary. Keep the brioche covered while it finishes proofing.
- 22
Allow the oven to reach 165°C fan
14 minHands-off · check as directedLet the oven heat for about 14 more minutes, making 15 minutes from switching it on. Confirm it has reached 165°C fan before loading.
- 23
Finish proofing while the oven heats
14 minHands-off · check as directedContinue the room-temperature proof while the oven heats. Bake only when the spiral is substantially expanded, soft and puffy, gaps have mostly disappeared and a gentle indentation returns slowly and partially. Together with starting the oven, this completes the planned 6-hour proof; extend as needed.
- 24
Brush the top with milk
1 minHands-onRemove the cover and gently brush the top with 1 tbsp whole milk immediately before baking.
- 25
Put the brioche in the oven
2 minHands-onCarefully place the tin and its supporting tray on the middle shelf at 165°C fan. Start the baking clock when the tin goes into the oven.
- 26
Bake uncovered for the first 20 minutes
20 minHands-off · check as directedBake uncovered at 165°C fan for the first 20 minutes. Total baking is expected to be 35–45 minutes; subsequent checks and tenting are included within that window.
- 27
Loosely tent with foil
1 minHands-onAt about 20 minutes, loosely tent the tin with foil, leaving space above the brioche. Keep the foil off the surface and do not seal it around the tin. Return promptly to the oven.
- 28
Continue to the 30-minute check
9 minHands-off · check as directedContinue at 165°C fan under the loose foil tent until about 30 minutes have elapsed since loading, including the time spent tenting.
- 29
Check the centre from 30 minutes
1 minHands-onProbe the thickest bread portion near the centre, avoiding the cinnamon filling and the tin. Aim for about 90–92°C. If it is cooked now, remove it and skip the next waiting stage. Otherwise return it under the foil; begin further checks in 3–5-minute intervals.
- 30
Finish baking only as needed
9 minHands-off · check as directedAllow roughly 9 further minutes as a planning estimate, bringing the bake to around 40 minutes overall. Check at 3–5-minute intervals and stop as soon as the centre is cooked, around 90–92°C in the bread. The usual total window is 35–45 minutes, but readiness takes priority. Shorten or extend this stage as necessary; do not leave it in just to complete the timer.
- 31
Check and remove from the oven
2 minHands-onConfirm the bread near the centre is cooked, about 90–92°C, then remove the tin to a heatproof surface and lift away the foil. If a correct probe reading is still below target, continue in short intervals before removing.
- 32
Melt the finishing butter and brush the crust
3 minHands-onImmediately melt the 10 g finishing butter gently in a microwave or small pan and brush it over the hot top to soften the crust. Keep this separate from the butter already used in the dough and filling.
- 33
Cool in the tin
13 minHands-off · check as directedLeave in the tin for 10–15 minutes before unmoulding.
- 34
Unmould and cover loosely
2 minHands-onCarefully lift out onto a wire rack and loosely cover with a clean, dry tea towel.
- 35
Finish cooling before serving
90 minHands-off · check as directedLet the interior set on the rack. Allow roughly 1½–2 hours of cooling in total, including the initial 10–15 minutes in the tin; this timer gives about 1¾ hours overall. Do not cut or pull apart while the centre is still hot. Store airtight once completely cool.
Equipment check
14 items required
- Stand mixer with dough hook
- Digital scales
- Straight-sided covered fermentation container
- Rolling pin
- 20 cm round cake tin, at least 6 cm deep
- Baking paper
- Baking tray
- Fan oven
- Foil
- Probe thermometer
- Pastry brush
- Wire rack
- Clean dry tea towel
- Microwave or small saucepan
Dietary and allergen note: Vegetarian. Contains wheat/gluten, eggs and milk.
Check the listed equipment and capacity before you start.
Recipe diagnostics
Checked before you cook.
Starter is at peak before mixing.
Bulk has increased volume by about 50–60%; use the dough rather than a fixed deadline.
Final proof is at room temperature, until very puffy with a slow partial indentation return.
Tent loosely after 20 minutes; check the centre from 30 minutes.
Use 90–92°C in the bread portion as the practical centre-temperature target and stop as soon as cooked.
Brush the hot crust with butter; cool about 90–120 minutes total and store airtight once cool.
Community reviews
No reviews yet.
Rate a recipe and record how you cooked it using Made it. The community score uses each cook’s latest public rating.
Cook this recipe, then use Made it to add your first rating or review.